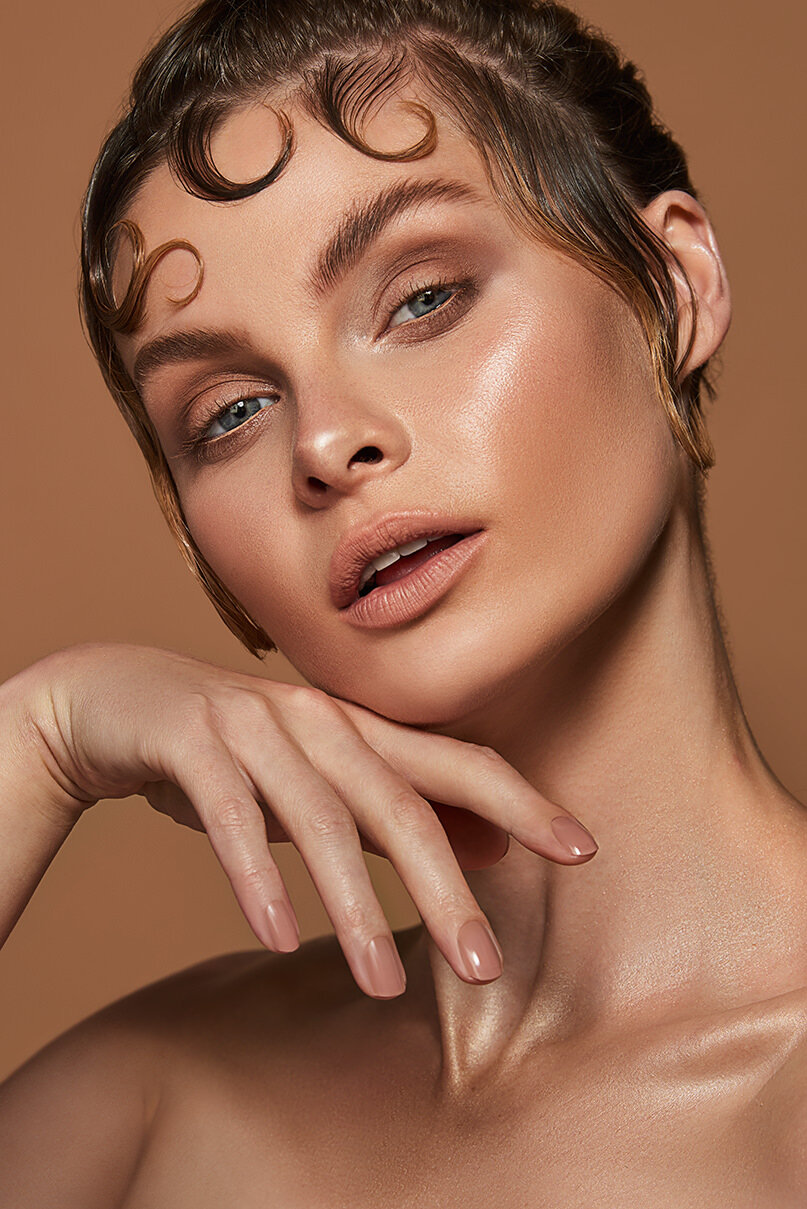
I love beauty photography, there’s nothing like working alongside a great team in a studio and seeing all your plans come together. A lot of photographers who are starting out in shooting models and beauty images think that the all the work is done as soon as you rock up at the studio. Well, that’s not how I roll! Planning and preparation before the day is key to a successful shoot. Your to do list should include everything from clear briefs and inspiration to building up a strong team.
Here are my top tips for a fantastic beauty photography shoot…
Research
First things first things, research!
One of my favourite places to start is Pinterest. I’ll often create a board and get pinning everything that catches my eye. If you get stuck then start by thinking about all the different elements of the shoot - how do you want the lighting to be? What sort of background would you like? What’s the look of your shoot? Styling, hair, makeup and poses.
Remember that inspiration can come from everywhere, don’t limit yourself to just looking at images. Keep your eyes open for different textures when you’re out and about, look at art or films. Inspiration is everywhere!
Your team
Having a strong team behind you will elevate your work to the next level.
I love shooting beauty and rely on great make up artists to create amazing looks. Work closely with your team right from the beginning of your planning - that way you can bounce ideas off each other and make sure you’ve got people that specialise in different areas. This will keep every element of your shoot strong.
Keep discussing ideas with your team, and allow them to bring their expertise to the shoot. Over time - and as you put together more and more shoots - you’ll be able to make connections and build a team that you work with regularly.
Finding your model
I always work with model agencies and look for models with experience. They’ll understand the light and know which poses look fantastic - all of which will make the shoot a lot easier.
When selecting a model I’ll look closely at their skin. Good skin can save hours in the edit and allow you to be far more creative with lighting. I want their skin to look great in camera before I even start an edit. It’s also a big help for the MUA. Try to do as much research as possible during your search for a model - you never know how much manipulation has been done to other images. I’ll check out their Instagram and look at Polaroids. If you’re working for a client then putting on a casting day is a good idea - that way you can meet potential models before making your choices.
When you’re selecting a model always refer back to the brief for your shoot. Is it for a lipstick brand? If so make sure you find a model with fantastic lips. A mascara shoot? You’ll probably prefer a model with big eyes and eyelashes. If I’m planning to shoot happy, smiling images, then I’ll want to see examples of the model smiling.
Photography kit
Ahh, we photographers just love our kit don’t we! As with all types of photography it’s not about how much you have, it’s all about having the right kit.
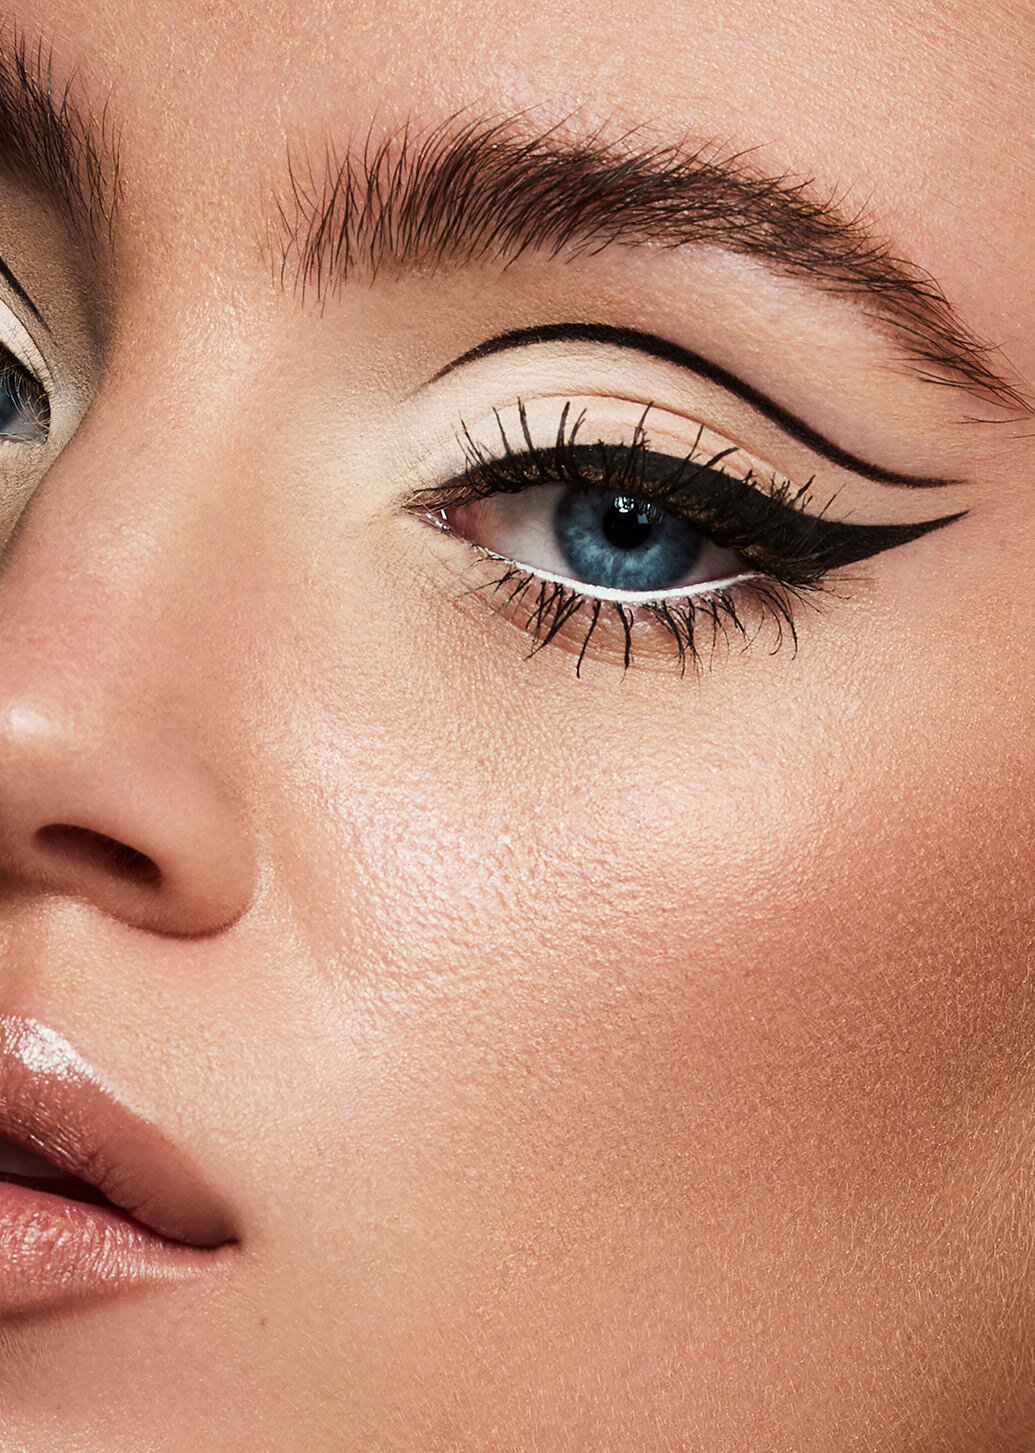
I love using both long and macro lenses for beauty photography. A long lens is perfect for portraiture - there’s minimal distortion and, combined with the right lighting, it’s extremely flattering. A good macro lens will allow you to get those perfectly sharp close ups of a model’s lips, eyes and any accessories.
I mainly use Profoto lighting with often a beauty dish and / or softboxes. Poly boards are also great for bouncing light back in or absorbing light. You’ll always find a reflector in my kit bag too, these essential for beauty shoots! Again they help to bounce light back in and fill in shadows. Both poly boards and reflectors are great tools for getting the lighting just right.
I always have a bit more kit with me than I need on a shoot day as it gives me the freedom to adapt to any changes. Even if I plan a shoot down to the nth degree I may spot something on the day and end up with completely different photographs! Unless I’m shooting to a very tight client brief of course!
It’s also good to have those additional bits of kit with you just in case things aren’t quite looking as you’d hoped. Being able to switch things up and understanding how to make corrections is so important. This comes with time and experience so the more shoots you do the easier you’ll find it to get the results you want.
The shoot itself
For me the best shoot days are where everyone is chatting away, loving what they’re doing and enjoying their work. It’s getting everyone involved in the process. Making sure the whole team knows that they can make suggestions, give any input, use their expertise. I want to make sure every element of the shoot is 100% and that means listening to my MUA, stylist and everyone involved.
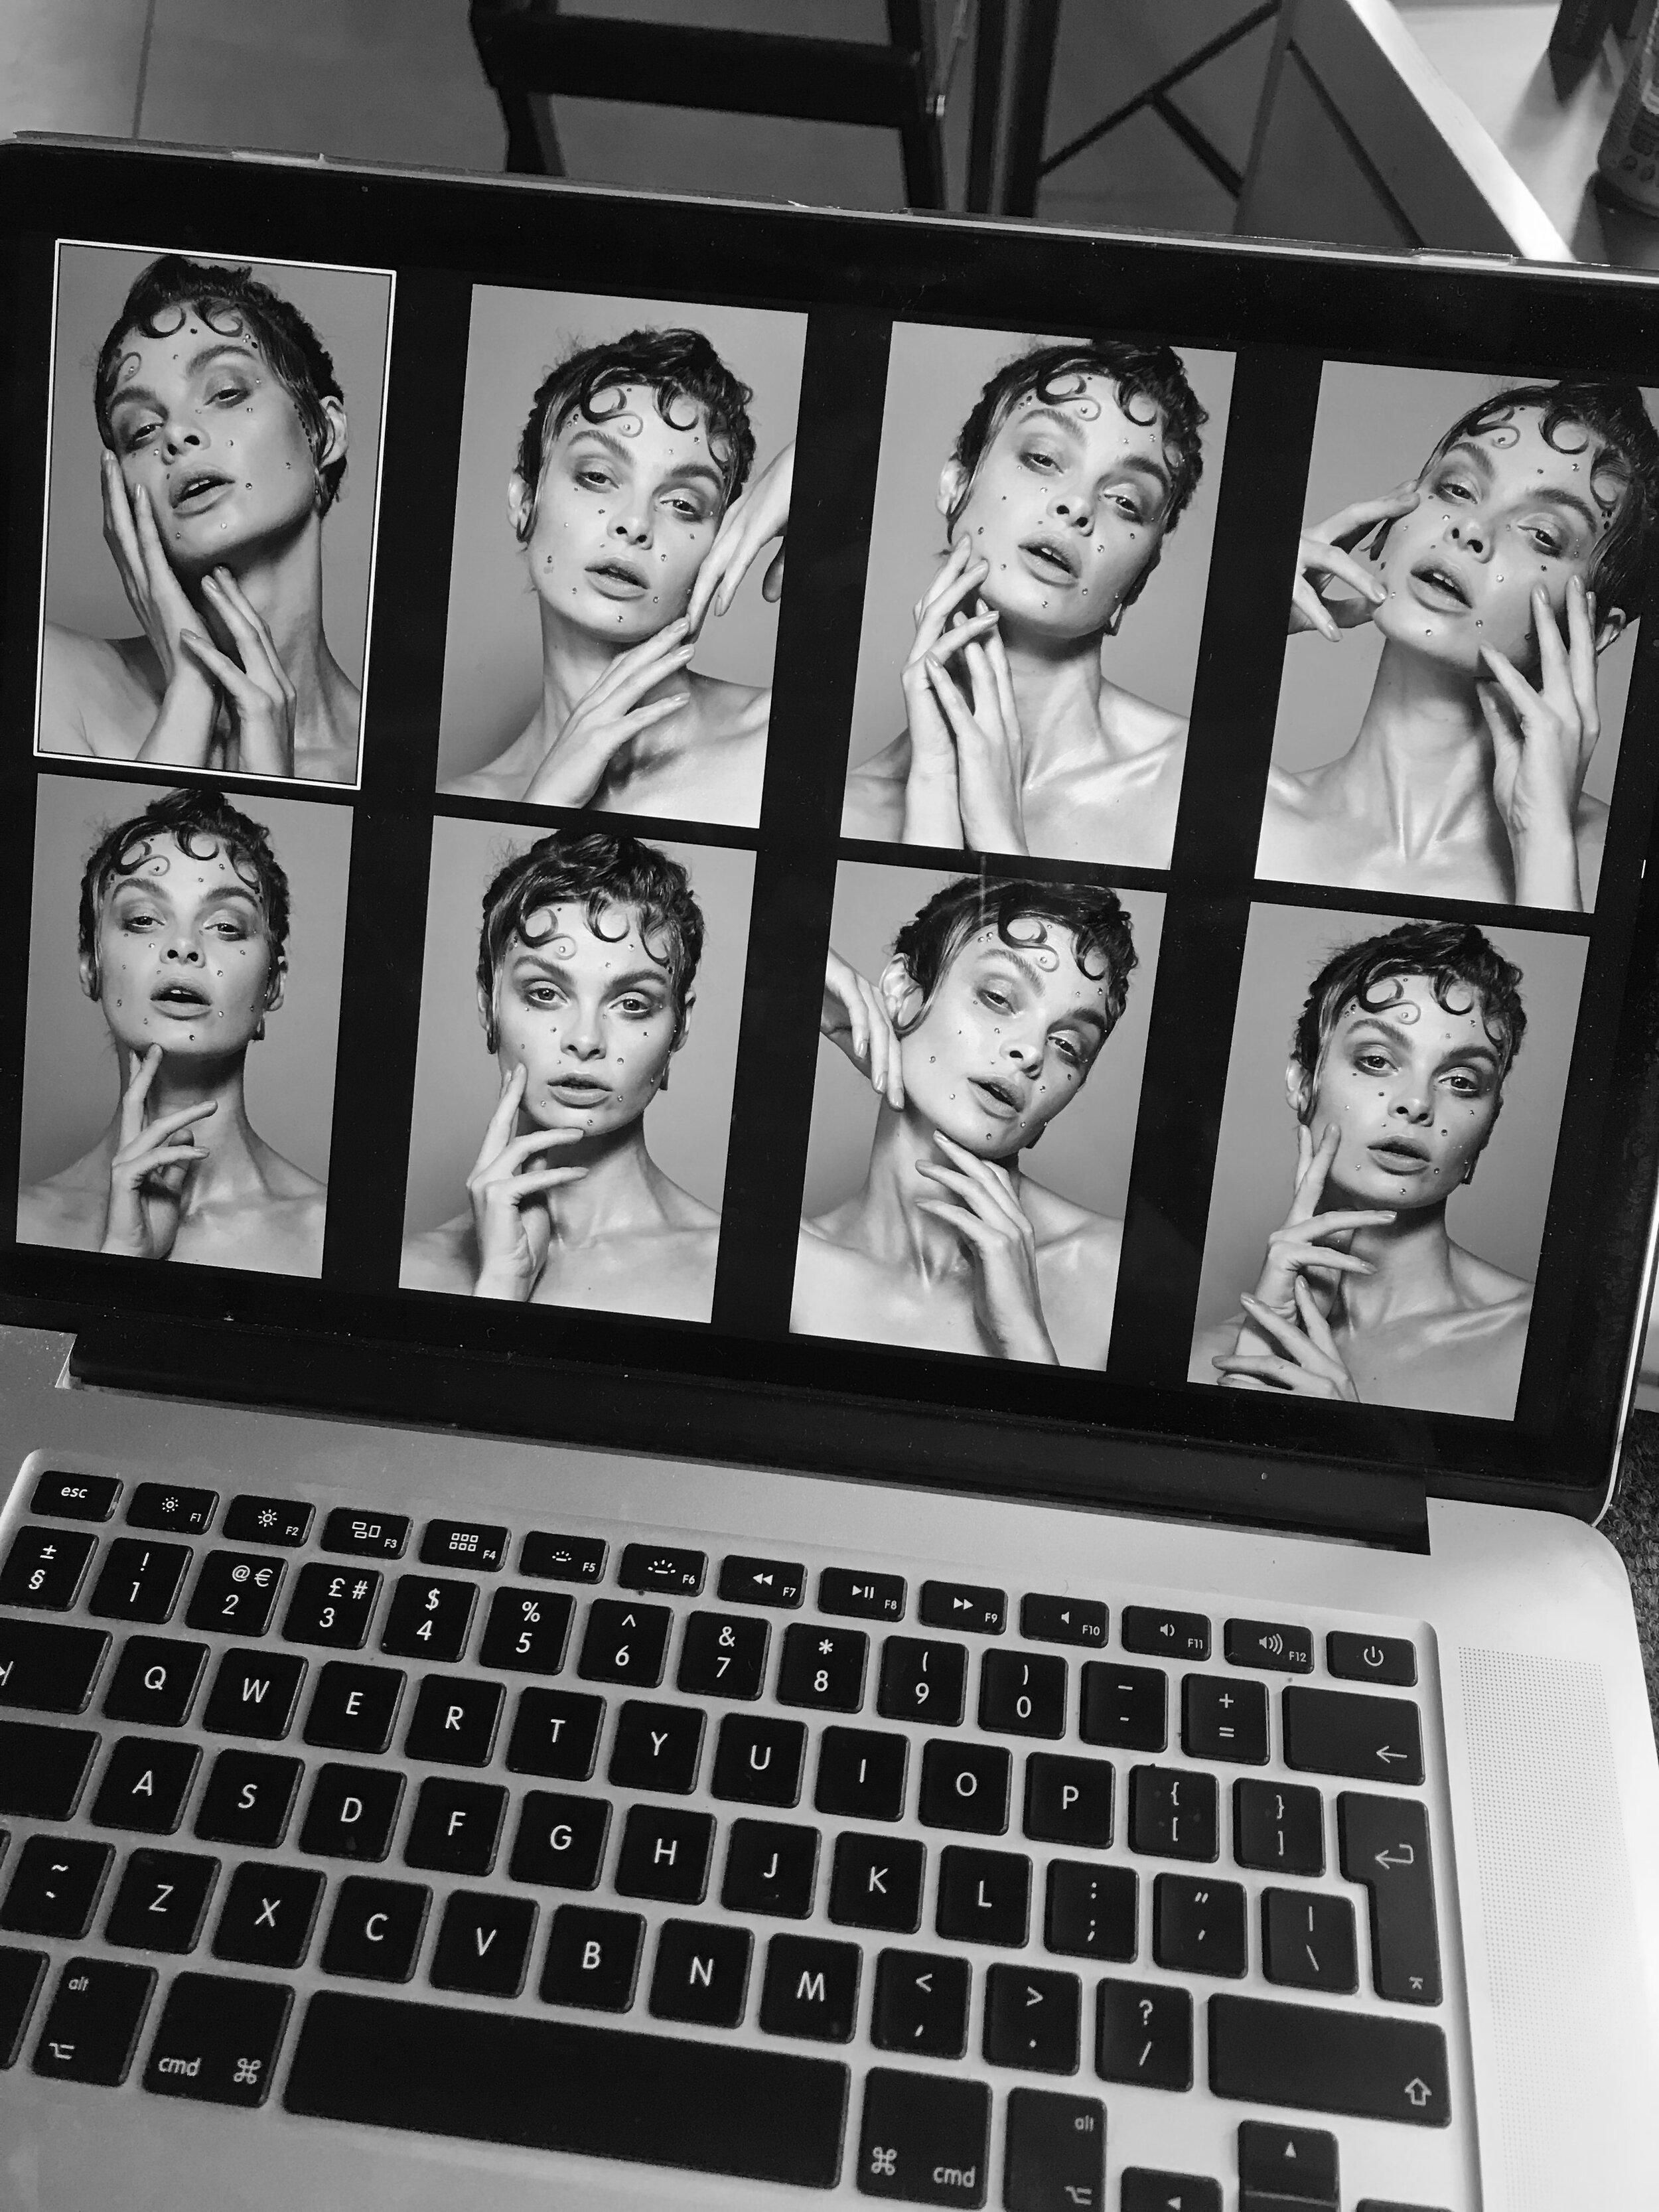
With all of that in mind I always shoot tethered to Capture One. This means that everyone can view the images on a big screen as I’m shooting. I can keep an eye on lighting and technical details while hair and make up know when to jump in and make any adjustments. Plus it helps the MUA to see how things are looking on camera as lighting can change a look quite dramatically.
I don’t stop after every image to look at the screen, I like to keep the shoot flowing. However having the big screen next to me means I can glance over every so often just to check on things without losing momentum.
Selecting the images
During any downtime on the shoot, normally when hair and make up are doing any adjustments, I’ll try and star the odd image. This saves me quite a bit of time afterwards!
Each look is saved to its own folder, again for post production ease. When I sit down to edit I’ll do a wide edit of each look before narrowing down the options. Sometimes it’s clear which image is the winner, the stand out, whilst other times I can spend ages flicking between similar images trying to choose the keeper!
I’ll create albums within Capture One, this means I can compare images as a set. It’s important to keep in mind that it’s not just about choosing your favourite image, you want to pick images that work together as an overall set and show a variety of looks. There’s nothing worse than coming to the end of an edit and realising you’ve got multiple images of the same pose! By comparing them at the selection stage - and whilst I shoot - I can make sure that not only is each individual image strong but that they work well as an entire set too.
So there you have it - my top tips for beauty photography. It might seem like a lot to take in but, like everything, the more you practice the easier it will get! Use this post as a guide and in no time you’ll have put together your own studio shoot and be creating incredible images!


